





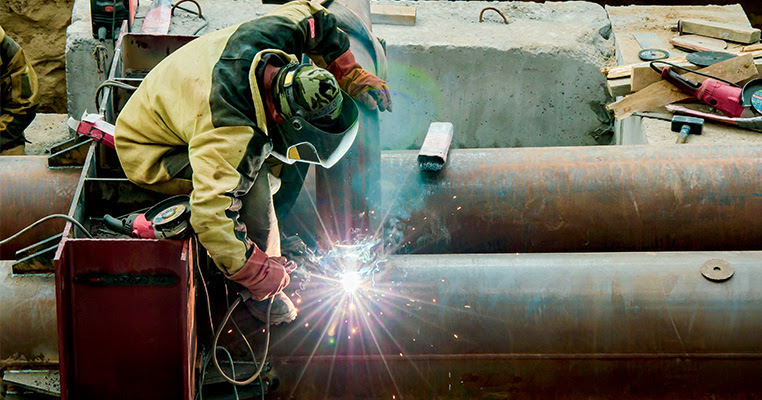
Hydrogen cracking has a well-earned reputation as one of the most deceptive failure modes in welding. A weld can look clean, pass a visual inspection and still develop cracks hours or days later, as diffusible hydrogen slowly works its way toward the stressed zones in the heat-affected zone. Welders and fabricators who have watched a seemingly sound joint fail an ultrasonic test the next morning know exactly what I mean – the questions come fast, and none of the answers are all that comforting.
The call to run a hydrogen bake-out after welding isn’t always an easy one. Some jobs call for it by code – that’s that. Others leave it to the welding engineer or the shop foreman. That gray area is right where the most expensive mistakes like to happen. On one end, you might skip a necessary step on a high-restraint joint in thick alloy steel. On the other, you might add unnecessary time and heat to a job that never called for it. In either case, the wrong call carries real consequences.
Hydrogen-induced cracking in structural steel or pressure piping gives you failures that are expensive to repair in a shop – and are legitimately dangerous out in the field. At that point, no one wants to have that conversation with a client. The stakes are real, and welders and engineers deserve to have criteria to work from instead of gut instinct.
A handful of variables all play into this call – carbon equivalent, joint thickness, restraint level, consumable set, and preheat practice. Not one of them can be read in isolation, because each one changes what the others mean in context. The difference between a well-planned weld procedure and an expensive post-weld headache usually traces back to how well you read these variables together – and which one matters most in a given situation.
Let’s get into when hydrogen bake-out is actually necessary for your welds!
What Hydrogen Does to Your Weld
Hydrogen-induced cracking goes by a few different names (the two most common are cold cracking and delayed cracking, though the exact name can depend on who you talk to), but they all point to the same root problem. Small hydrogen atoms get trapped inside the weld metal and the surrounding heat-affected zone, and from there they slowly work their way toward high-stress areas and start causing damage from the inside out.
What makes this so hard to catch is the timing. Cracks can take hours (sometimes even a full day or two) to show up after the weld has already cooled. At that point, the surface looks fine, and the piece has very likely already moved on to the next stage of the job.
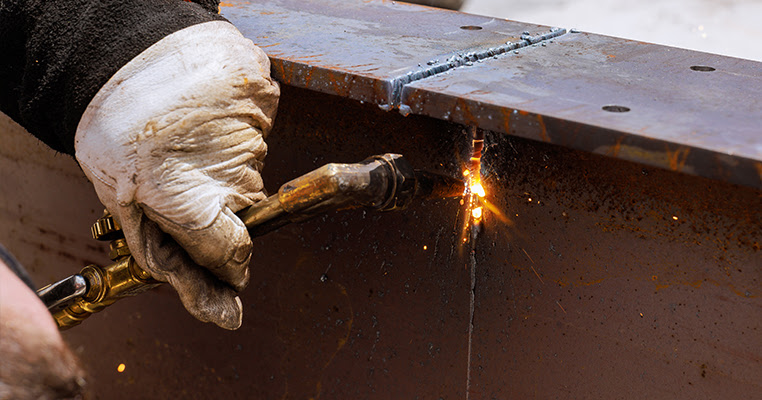
This problem goes back decades. Metallurgists and weld engineers had already started to investigate hydrogen-induced cracking in structural steels back in the mid-20th century, and it’s remained one of the most persistent causes of weld failure ever since. If your work leans toward high-strength or thick-section steels, it will affect you directly.
Cracks usually form in the areas that are already under the most stress – the toe of the weld, the root, or the heat-affected zone just outside the weld line. These are the exact places where hydrogen does its worst damage. Hydrogen cracking tends to build up slowly over time instead of all at once, so it can stay hidden until the damage becomes severe. By the time a crack actually shows up on the surface, it’s usually been moving through the material for quite a while.
How Hydrogen Gets Into Your Weld
Moisture is probably the most common culprit, and it can come from a few different places – damp welding rods, humid air or just dirty base metal with rust and oil on the surface.
The electrode type also plays into this, and it matters. Cellulosic rods (the kind that you’ll see in pipeline work) hold considerably more moisture than the low-hydrogen alternatives do. When the arc heat hits that moisture, it breaks down and releases hydrogen right into the weld pool. Not all electrodes behave the same way on this, and the rod that you go with has a pretty direct effect on how much hydrogen actually ends up in your weld.
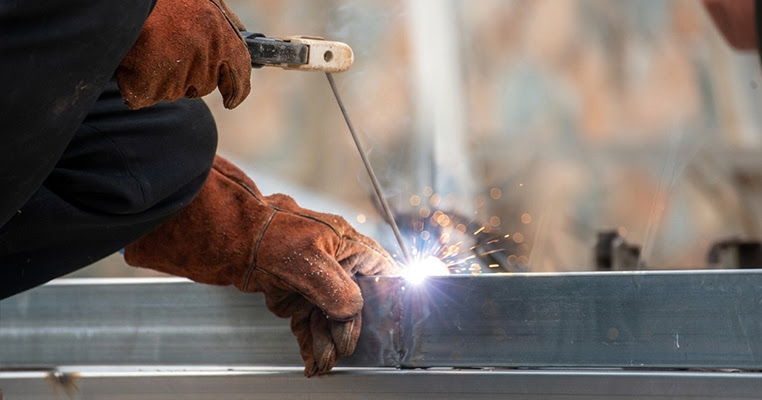
A wet morning on an outdoor pipeline job is nothing like a dry and temperature-controlled fabrication shop. Between the humidity in the air, the condensation on the pipe surface and how little control you have over consumable storage, moisture exposure can build up fast. Once those conditions are all working against you at the same time, the hydrogen level in your weld can climb well above what you’d ever see in a shop environment.
That’s why storage and prep work matter with welding consumables. Low-hydrogen electrodes stored in a rod oven hold far less moisture than rods left out in the open air, and even just a few hours of exposure to humidity can noticeably raise the amount of hydrogen that ends up in the weld.
The base metal itself deserves just as much attention as anything else in the prep process. Oil, rust, mill scale and leftover residue all carry hydrogen-bearing compounds, and the welding heat will drive those compounds straight into the joint. A clean and dry surface is one of the most reliable ways to hold hydrogen levels in check right from the start.
When Should You Use a Bake-Out
Not every weld calls for a bake-out, and this matters quite a bit once you start to weigh the extra time and cost it can add to a job. The whole point is to use it where it’s going to matter – and a handful of factors help you work out whether your situation warrants it or not.
The steel itself is the first place to look. Steels with a carbon equivalent above roughly 0.40 to 0.45 are far more vulnerable to hydrogen-assisted cracking, and the higher that number climbs, the less hydrogen the material can tolerate before problems start to appear. Thick sections make this even worse. Heavier material pulls heat away faster, and the weld cools before the hydrogen has any chance to escape on its own.
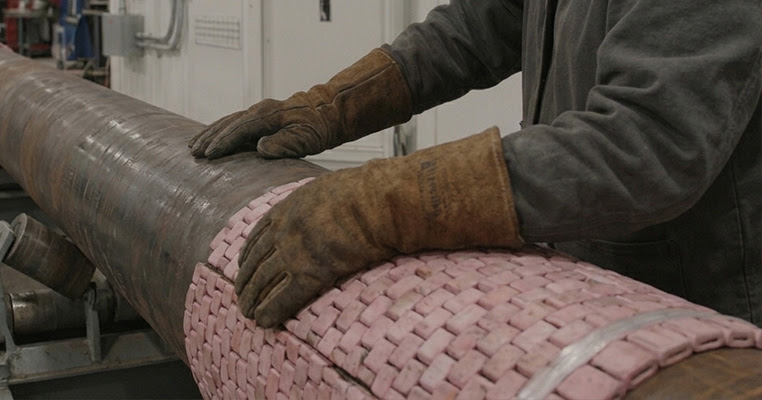
Joint restraint is another big part of this. A joint that’s locked in place by its surrounding structure will build up residual stress as it cools, and this stress, paired with trapped hydrogen, is the sort of situation that a bake-out was built for. A free-moving joint on a thin section of mild steel is a different situation.
From there, it’s worth an honest look at how closely the low-hydrogen protocol was actually followed on the job – whether the electrodes were stored and dried correctly, whether the base metal was clean and prepped and whether preheat was applied the way it should have been. If that was done right, then the hydrogen level in the weld is already where it needs to be. If any of the steps got cut short or skipped, then the argument for a bake-out gets quite a bit harder to ignore.
Codes like AWS D1.1 and ASME will usually spell out when a bake-out is needed for a given material or joint type, and that makes them a great place to start. My recommendation is to pull them early.
How Hot and How Long to Bake
Once you have a target temperature in mind, the rest of the process is fairly manageable. The weld itself and the surrounding heat-affected zone need to hit between 400°F and 570°F (roughly 200°C to 300°C) and then stay right there for 2 to 4 hours.
Hydrogen atoms need enough heat energy to actually move through the steel and work their way out – at lower temperatures, they just don’t have enough of it to make that happen. The hold time matters just as much, though. Pull the part off the heat too early, and whatever hydrogen is still trapped in there has nowhere to go.
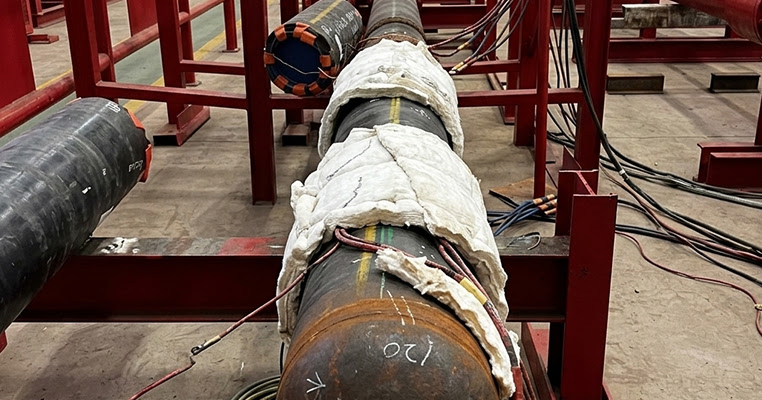
The thickness of your material plays a large part in how long the soak needs to run. Thicker pieces take much longer to heat through to the center – that’s what the upper end of the 2-to-4-hour window is there for. It’s meant for the heavier pieces that need more time to reach temperature.
Timing matters just as much as the temperature, and it’s the step where quite a few welds fail. The bake-out has to start before the weld cools down to room temperature – not an hour later, once it’s already gone cold. Hydrogen travels more freely through warm steel, so any delay here is actively working against you. Get the part into the oven or under the heat blanket while there’s still some heat left in it. A part that goes in warm is in a very different position than one that has to be brought all the way back up from the cold. The window here is pretty tight, so the faster you move on it, the better your results are going to be.
Preheat Cuts the Need for Bake-Out
Preheat and interpass temperature control are your first line of defense against hydrogen cracking, and the logic behind them is actually fairly easy to follow. Heating the base metal before making a pass slows down how fast that joint cools afterward. A slower cooling rate is what gives dissolved hydrogen the extra time it needs to work its way out of the weld zone – before it can get locked in permanently.
Interpass temperature works on the same principle. Together, these steps help cut down on the total amount of hydrogen that ever gets trapped – it’s the best place to stop the problem before it starts.
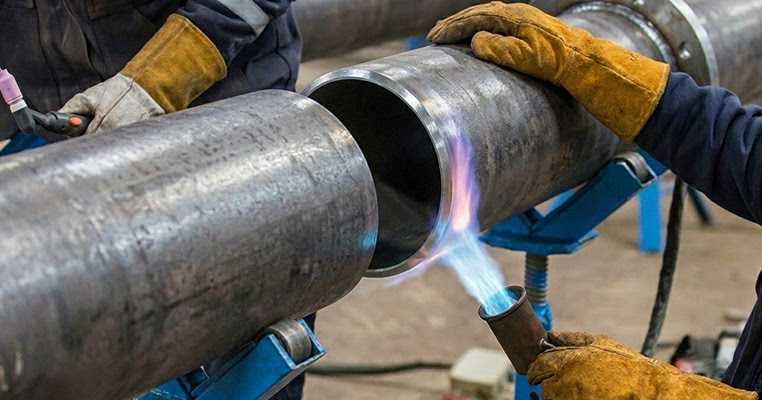
A hydrogen bake-out is what comes into play when the thermal control process goes wrong. If preheat was skipped altogether, or it just never got hot enough, hydrogen doesn’t have nearly enough time to diffuse out on its own. At that point, a bake-out acts as a corrective measure – a way to release whatever got trapped after the fact.
A bake-out is not part of a well-run weld procedure – it’s a recovery step for when the thermal side of the process went wrong. Some will reach for it by default, almost out of habit. When preheat and interpass temperatures are managed right from the start, you almost never need it.
The entire point of heat management, from your first arc strike all the way through that final pass, is to leave a path open so hydrogen can escape while the weld is still hot. Once that window closes and the metal cools, your options can narrow down very fast. Prevention is a bit less work than trying to fix this after the fact.
The Right Way to Store Low-Hydrogen Electrodes
Hydrogen control actually starts much earlier in the process – well before the first arc is struck. The electrodes that you pick and the way that you store them have a direct effect on how much hydrogen ends up in the weld metal.
Low-hydrogen electrodes like E7018 are built to hold hydrogen levels in the weld metal as low as possible, which makes them a natural choice for carbon steel or higher-strength materials where cracking is a genuine concern. The trade-off is that they’re pretty sensitive to moisture. That sensitivity means the way that you store them matters just as much as the rod that you pick.
AWS A5.1 is the standard that most shops reference for low-hydrogen electrode storage. Once you open the original packaging, those rods need to go straight into a rod oven and stay at around 250°F to 300°F. A rod that’s been left out for a while will pull moisture from the air, and at that point, a reconditioning cycle at a higher temperature (around 700°F to 800°F for E7018) will get it back to where it needs to be.
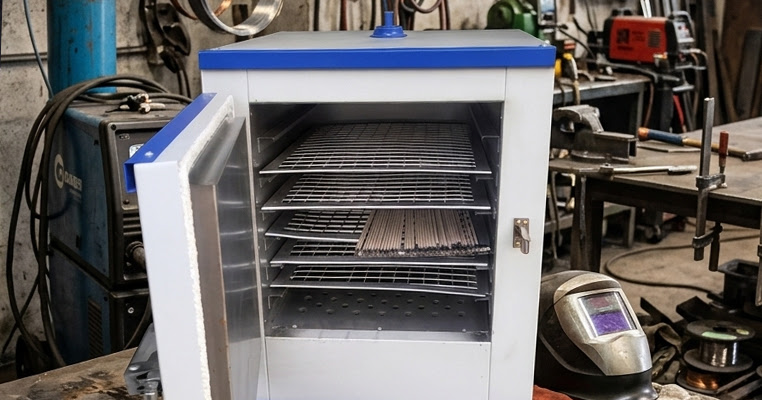
A humid shop floor or a damp storage area will pull moisture into an electrode fast. Vacuum-sealed packaging keeps that moisture out well. But that’s only until the seal gets broken. From there, a rod oven is the only place those electrodes should be stored. It’s a small detail that doesn’t always get the attention it should. But do it right, and it shows up in the quality of your welds.
The right electrode and proper storage are two of the most helpful steps that you can take to keep hydrogen-induced cracking off your list of problems.
The Real Cost of Skipping a Bake-Out
One of the more frustrating parts about hydrogen cracking is that it doesn’t always show up right away. A weld can look fine after it cools (no cracks, no visible warning signs) and then split hours or days later when the crew goes back to check it. At that point, the damage is already done.
That delay is what makes hydrogen cracking so expensive. A crack that turns up during inspection means a rejected weld, and a rejected weld means downtime, rework and a project that’s already gone over budget before there was ever a chance to fix it. Field repairs can run dramatically more than anything fixed back at the fabrication stage – sometimes by a very wide margin.
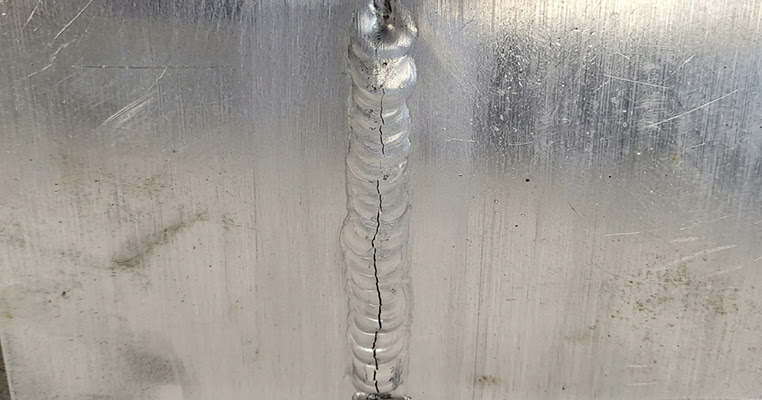
Pipeline work has a well-documented history with hydrogen-induced cracking – some known failures have been traced directly back to it over the years. And structural steel applications have just as much at stake.
The economics speak for themselves. A bake-out procedure costs a fraction of what a single failure will run you in repairs, extra inspections and lost time on the job. Prevention at the welding stage is usually the better financial move – and in my experience, the teams that make it a priority aren’t the ones who end up wishing they had.
Where The Pros Get Their Welding Rentals
The welders and fabricators who manage this well aren’t necessarily the ones with the most experience – they’re the ones who actually take it seriously, instead of treating it like another box to check. A welder who follows the steps because they’re written down and one who understands the reasoning behind them aren’t the same, and the gap tends to show up in the finished weld. The skill is in the judgment (knowing when bake-out is necessary and when preheat and the right consumables have already done the job), and it’s something that pays for itself on every project from then on. It’s not something that you can rush. But once it clicks, it changes how you see every joint that follows.
Calls will only get you so far without the right tools to back them up, which is where we come in. At Red-D-Arc, whatever the job calls for (welding machines, positioners, protective gear and heating equipment), we carry a full range of rental and purchase options, all built around the type of work where details need to be done right. Rental in particular can be a smart option when a project needs equipment that doesn’t make sense to buy outright. No long-term commitment, no storage problems, and you have full access to professional-grade machines right when the job needs them.
Whether you run a full production shop or move between job sites as a contractor, our catalog at Red-D-Arc.com will help you get the job done. Get in touch today!



Leave a Reply