


Corner joints are ubiquitous among the five primary types of joints in welding. Learning how they work and how to implement them properly is an essential part of learning how to weld, whether as a hobbyist or as preparation for a welding career.
In a previous post, we covered the basics and considerations of the T joint. Today, we’ll cover the second kind of joint, the corner joint.
What is a Corner Joint?
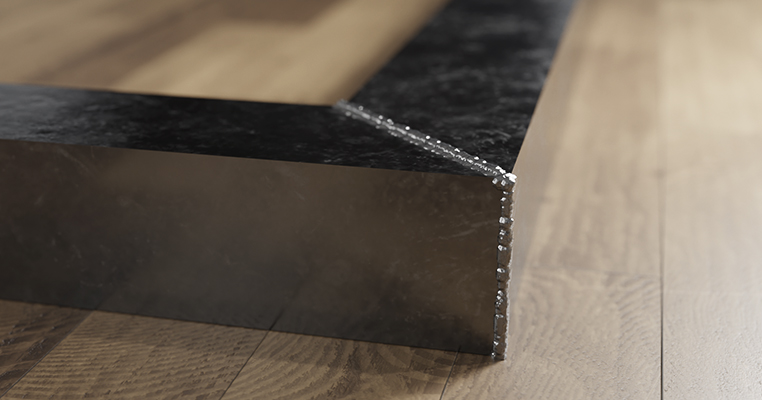
A corner joint is any joint in welding where two pieces of material are joined at a right angle.
The resulting materials form an L shape.
This joint is most commonly used in fabrication to combine sheets of metal (often stainless steel) or tubular material. Still, it is also widely seen in pipefitting and other applications.
The materials must be positioned at 90 degrees from one another to be considered a corner joint. While two materials can be joined at other angles, like 45 degrees or 135 degrees, these are not corner joints. Instead, they are fillet welds (or different kinds of joints if the materials are flat and parallel.)
This distinction is the same as with a T joint, except with a T joint, the vertical member is positioned away from the edge of the horizontal member; in a corner joint, the two edges are joined.
A corner joint does not necessarily need prepared surfaces, but some varieties of corner joints can make use of additional preparation. Also, like a T joint, the weld can be on one side of the joint or both sides.
Corner joints can join materials both thick and thin. Especially-thin materials may need extra caution to prevent burn-through or damage; conversely, thick materials may necessitate layered welds.
The Pros and Cons of a Corner Joint
Corner joints are relatively simple to create, and like any joint, they have pros and cons.
For example:
- Pro: It’s often necessary for many applications in construction, fabrication, and other purposes. There’s often no avoiding a corner joint without elaborate changes in design.
- Pro: A corner joint is a robust and reliable connection between two pieces of material when done correctly.
- Pro: Corner joints can be done quickly and are relatively straightforward, particularly with practice.
Additionally, corner joint welding is easy to automate on industrial scales via machines to hold all the pieces in the appropriate positions and angles and weld with reliable speed.
- Con: While it’s a straightforward weld, corner joints can be complex depending on the project and the angles. Applying enough heat (but not too much) and pressure can be very hard. Mistakes can leave gaps in the weld, cause undue stress on the metal, or leave a weak joint behind.
- Con: Because of the angles (and often positions) involved, it can be challenging to achieve a weld that is both aesthetically pleasant and possible to finish smoothly.
- Con: Patience is vital, and some corner welds can require multiple passes. Skipping steps or rushing the process leaves a sub-par joint and a weak finished product.
As with all forms of welding, lamellar tearing is a significant risk. Corner joints are often susceptible to rotational stress, so you must carefully weld the materials properly.
Types of Corner Joint
The materials’ positioning differentiates three kinds of corner joints.
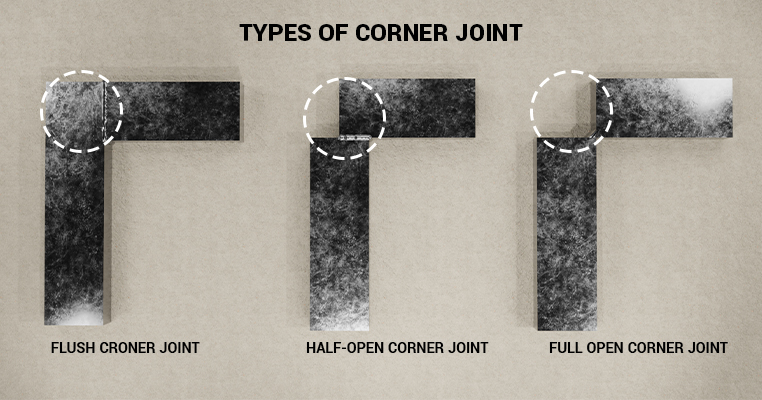
Diagrams of the three can be seen here.
- A closed corner joint, also known as a flush corner joint, is like a T joint with the vertical material aligned to the edge of the horizontal material. There’s a complete overlap of the surfaces but less surface available for the weld, so it’s typically used with thinner materials or in cases where strength isn’t required.
- A half-open corner joint offsets one piece of material, leaving an edge on the outside of the corner. This practice leaves more room for the material to be added to the weld without leaving an unsightly lump or bump outside the finished joint. It is most often used with thicker materials.
- A fully open corner joint connects the two materials at their corners, leaving a total gap outside the corner. This joint is the most robust option for thick materials because it places the most force on the filler material rather than the metal itself, minimizing the risk of lamellar tearing. A significant amount of filler material is required for this joint.
Corner Joint Preparations
Like tee joints, there are a variety of kinds of bevels and other preparations you can use. They may be necessary for some types of materials, notably thicker materials.
They include:
- Single Bevel, Inside. This option grinds a bevel on one surface on the inside of the corner, for filler material inside and a finished look outside the corner.
- Single Bevel, Outside. Similar to the inside bevel, this bevels one material on the outside to create a space for filler and a better join.
- Single J Grooves. Both inside and outside variations of the single-sided J groove exist, the same as with beveled grooves.
- V Grooves. V grooves are double-bevels; both materials are beveled into a V shape, which holds the filler and weld. You can do this on both the inside and outside of the joint.
- U Grooves. The same as V grooves, except with J grooves instead of bevels.
- Flares. Flare welds are used when tubular material is welded; the pipes are not prepared, but the shape isn’t quite a V or J, so it gets its name.
As mentioned in the T joint article, the choice between a V and a J largely depends on the tools you have to make the groove. Also, plug welds can work for welding extensive corner joints using closed corners but are less common than in T joints.
Tips for Successfully Welding Corner Joints
Corner joints can be tricky to do well, and many variables are in play. The thickness of the materials, the materials themselves, the required strength of the weld, and more all affect the outcome.
Here are some tips to make the most out of a corner weld and do it right the first time.
- Consider creating a jig. Corner welds require a 90-degree angle, which can be challenging to do by eye or hand. Managing materials, welding equipment, safety gear, and the rest of your project can be impossible without some additional support. A jig can support and position your materials, so you’re assured of the angle and position without manual intervention.
- When welding an open corner joint, particularly with thinner materials, increase your travel speed. Too slow, and you risk burn-through, ruining the corner and the project.
- Similarly, you may want to use less filler material, a lower amperage, or other tweaks to ensure minimal risk of burn-through.
- Don’t be afraid to do a layered weld on thicker materials. When a stronger weld is required, a layered weld may be necessary.
- Use the right kind of corner joint. For thicker materials, an open corner joint will produce the strongest connection.
A closed corner joint is sufficient for thin materials, though an open joint is still possible; it just provides fewer benefits as the failure point may not be the joint itself.
If you have questions or would like to leave an additional tip from master to novice, feel free to leave a comment below or reach out to us via our contact forms.
How to Weld a Corner Joint
The actual process for welding a corner joint is similar to other joints.
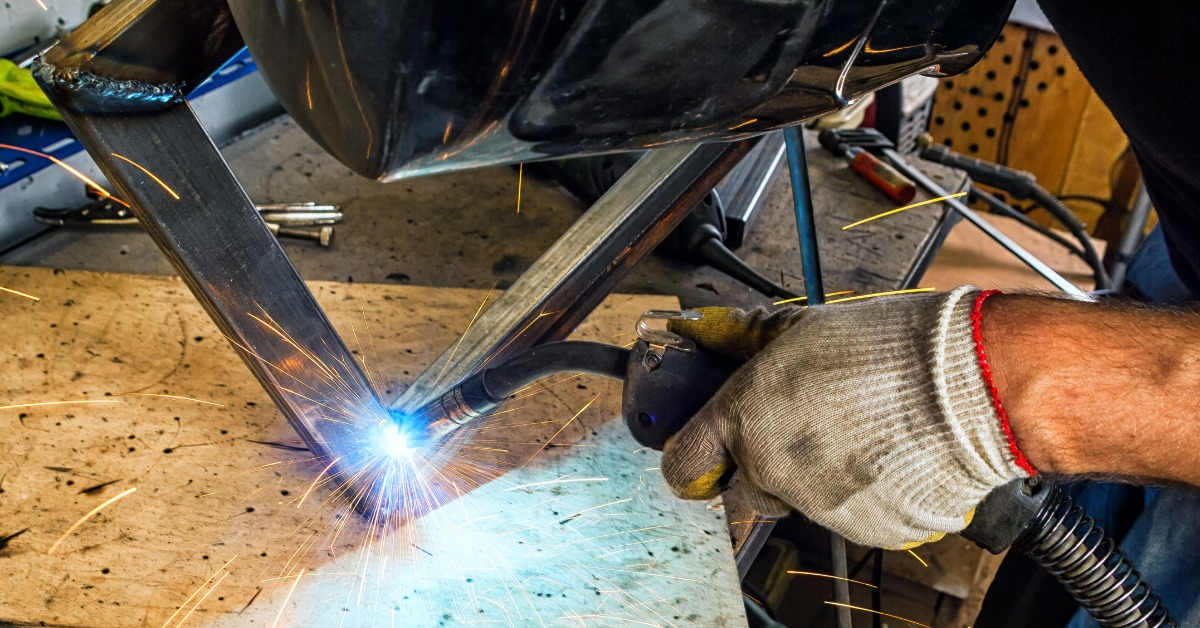
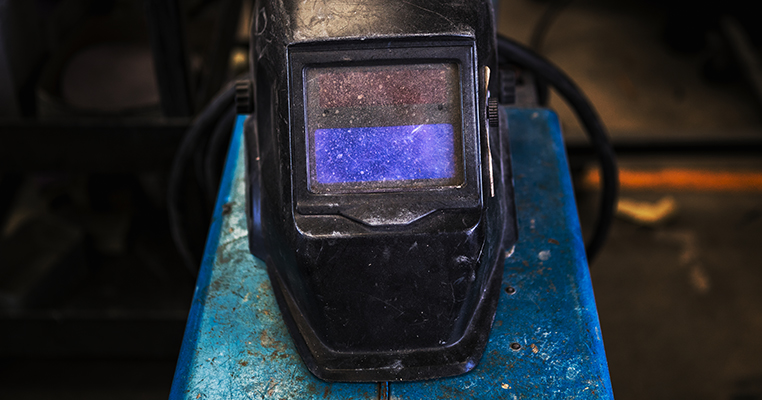
Step 1: Safety
Welding requires the appropriate application of safety equipment. The safety requirements include wearing gloves, face shields, a jacket/apron, boots, hearing protection, and other equipment, depending on the type of welder.
Welding can cause slag to fly off your project, and eye protection will keep those small pieces from entering your eyes. Welding can also be very loud with some types of welders, so you may need ear protection.
Welding in an enclosed space can give off some nasty fumes, and some coated materials can produce toxic fumes, like arsenic, lead, argon, and hydrogen fluoride. You may need additional ventilation or a respirator.
Be wary of flammable objects, and keep fire safety equipment close by, such as a fire blanket or an extinguisher.
Remember electrical safety. Welding is a high-voltage system, and the currents produced can be hazardous. Avoid touching the electrode, circuitry, or the work while welding. You should also ensure that your machine has a solid connection to grounding material while welding. Ensure your equipment is safety certified and in good working order before welding.
There are specific safety concerns with different kinds of welding (TIG, MIG, etc.) so this is also a point where you should consider which type of welding you’ll be using.
There are many advantages and disadvantages to specific kinds of welding, which you can read about in greater detail here.
Step 2: Prepare Your Joint
Preparation is always critical for welding. For a corner joint, there are several considerations to make before starting.
First, determine what kind of corner joint you’ll be using. Open, half-open, and closed corners are all useful for various purposes.
Likewise, decide if you will prepare your edges with any grooves. Make sure you have any tools necessary at hand.
Prepare your materials by grinding to remove impurities, mill scale, and other contaminants that could weaken your weld. This step is part and parcel of all kinds of welding.
Finally, determine if you need a jig or other support, and if necessary, construct one. This technique can be helpful to hold materials in place, guarantee angles, and prevent problems with movement partway through the weld.
Step 3: Secure Your Materials
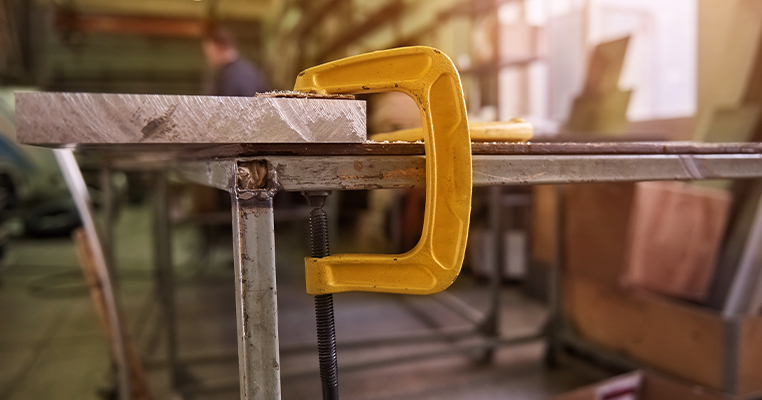
There is a two-step process for securing your materials for the weld. The first is impermanent; you can clamp your materials in place, secure them in a jig, or even attach them using welding magnets.
The second step is to tack-weld your pieces together. Alternate sides to prevent heat distortion. If your materials are bent or warped during this process, you should be able to maneuver them back into position. Ideally, however, your method of securing your materials will eliminate this need.
Remember to ensure that your position is sufficient for maneuvering across the weld.
If you need to stop, readjust, or reposition partway through, you run the risk of overheating the metal and damaging the final joint. Ensure a steady hand with confident movements.
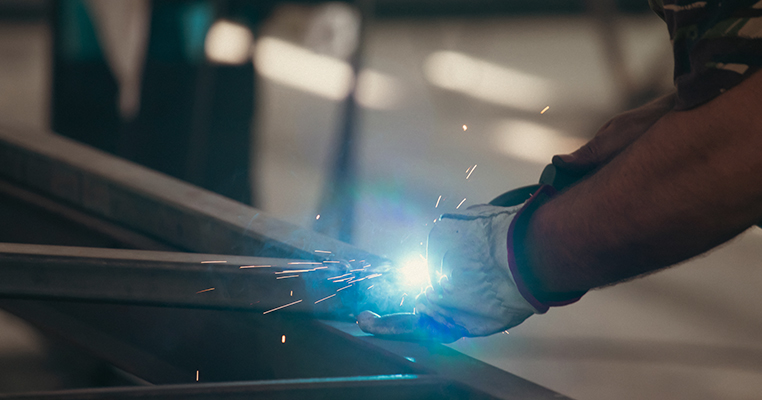
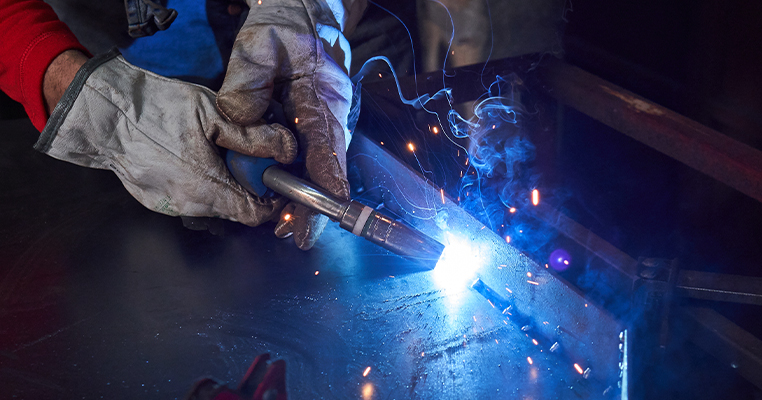
Step 4: Lay Your Bead
Once your materials are secured, it’s time to lay your bead. Again, there are many beading styles; however, with a corner joint, you’ll likely want a simple straight weld or a layered weld with multiple passes to lay more material. Fancy welds like a triangle weave, for example, are much more likely to cause burn-through due to lingering in place on thinner materials.
Ensure that your bean is solid across the corner. Gaps are a weakness in the joint and can be the origin point for anything from corrosion to tearing to breakage down the line.
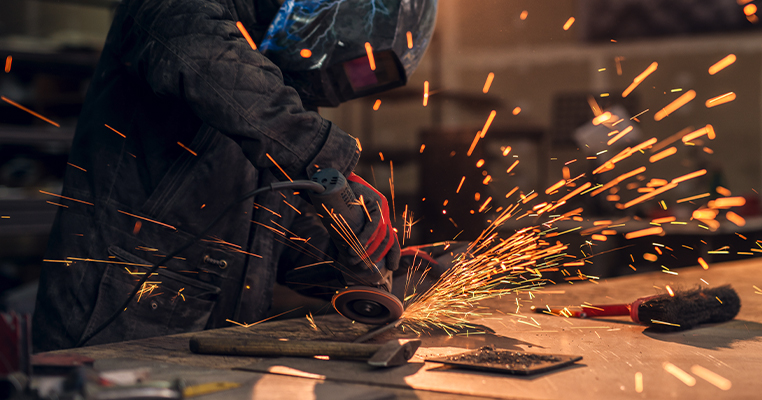
Step 5: Finish the Weld
Once your bead is laid, and your joint is solid, it’s time to finish the weld. If your weld needs to be resistant to the elements, have a smoother appearance, or need slag and other bits removed, a grinder can do that for you. If exposure to the elements or appearance is not a concern, then you’re done.
One risk is that the inner corner of a weld can be more challenging to finish it. Grinders can have difficulty reaching and smoothing out a surface in an inner corner, which is part of why open, outer joints are most commonly used.
Finally, apply any treatments like paint necessary for the finished product. Depending on the project, you’ll want to put the weld through some form of QC. Some less critical projects will require macro testing, where the sections are polished and examined for defects. In contrast, others undergo more rigorous testing like a break, tension, bend, ultrasonic, magnetic, or radiographic test.
After QC, proceed to the next weld, as required in your project. Practice makes perfect.
Don’t be afraid to cut and weld scrap metal to practice different kinds of joints and preparations on other materials. If you need more confidence with welding thinner materials, try it out a few times to get the hang of it before starting your project. You’ll feel much better making mistakes on some scrap metal than if you ruined something more expensive while testing a new technique.
If you have any questions, want to rent equipment, or are interested in any other facet of welding, don’t hesitate to reach out. Our contact forms are always open, and we’re happy to answer any questions.


Leave a Reply