While many welding machines have ratings that tell you the maximum thickness of the material they can weld, you’re more often going to encounter the opposite problem: material that is too thin.
It’s not that a welding machine has trouble fusing pieces of thin material. In fact, it’s too easy, which is why it’s actually very difficult. Linger too long, and you melt right through the material, leaving a hole rather than a seam. You fail to manage your heat properly, and a nice flat workpiece warps and waves with thermal expansion and contraction. It’s extremely easy to do wrong in a way that can ruin a workpiece and force you to start from scratch.
So, how can you learn to weld thinner materials properly without burn-through or other problems? Read on for our expert tips and advice.
Pick the Right Process
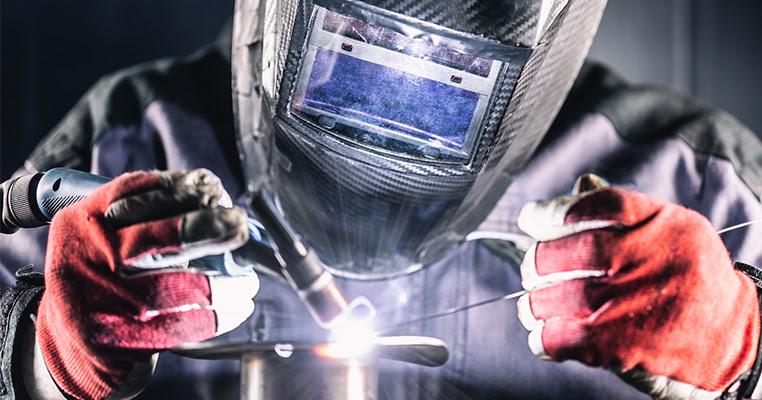
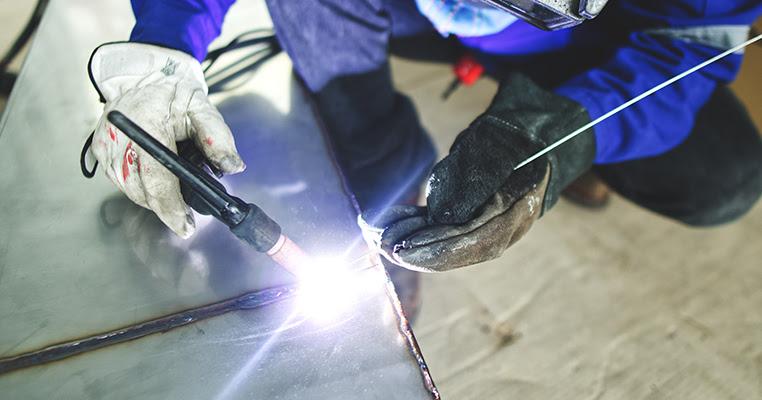
As you well know, there are several different processes you can use for welding. In general, MIG and TIG are the best processes for thin materials, with TIG edging out MIG in many cases. Usually, when choosing between these two, it comes down to the actual material being fused, the conditions of the weld, and how comfortable you are with the process. Even if TIG may be slightly more ideal, if you’re more comfortable with MIG, use MIG.

Stick welding can be used, but it’s not recommended. The higher current levels mean higher heat, and since it’s often a less automatic process, it’s much harder to pull off cleanly and without distortions.
Try an Advanced Mechanism
One of the most powerful tools in the modern welder’s arsenal is the array of computerized and controlled welding processes you can use for specialized use cases. In particular, both MIG and TIG machines today often have a “pulsed” setting.
A pulsed setting means that rather than one constant amperage for the device, the current rapidly pulses from high to low and back in a square wave pattern. This creates what is essentially a very rapid “stutter” to the current, and while there’s no real interruption to the way you move your torch, it allows for a lower amount of overall current and, thus, heat generation.

In other words, using pulsed welding systems has no real drawbacks other than greater complexity in the machine and can greatly reduce the heat put into a material. This makes it ideal for welding thin materials because heat control is your number one concern.
If your current welding machine does not have a pulsed setting, why not try it out? By checking out our rental welding systems, you can get ahold of a welder with a pulsed setting quickly and easily. If you only need it for a few short projects, it’s easy to return; alternatively, if you decide you like it, you can just as easily purchase used equipment from us or buy a new version of your own.
Stitch Welding Technique
The Stitch Welding technique is a particular kind of technique you can use to weld a seam in thin materials with a lower risk of distortion. Consider that if you have a six-inch seam, you need to join; running your torch across the entire six inches in a straight line is going to be very linear and have a particular pattern to the heat put into the material. In many cases, this will create a curl or a warp in the material, leaving it distorted and potentially weakening the weld.

Stitch welding essentially welds small sections of the seam at a time but skips from place to place along the seam rather than welding in a linear fashion. This allows previous segments to cool before you do adjacent segments. So for a six-inch seam, you might do the first inch, then the fourth inch, then the second inch, then the fifth inch, then the third inch, then the sixth inch. Even a few seconds in between each section is enough to allow a previous segment of seam to cool enough that doing the next section won’t create a distortion.
Tack Welding Technique
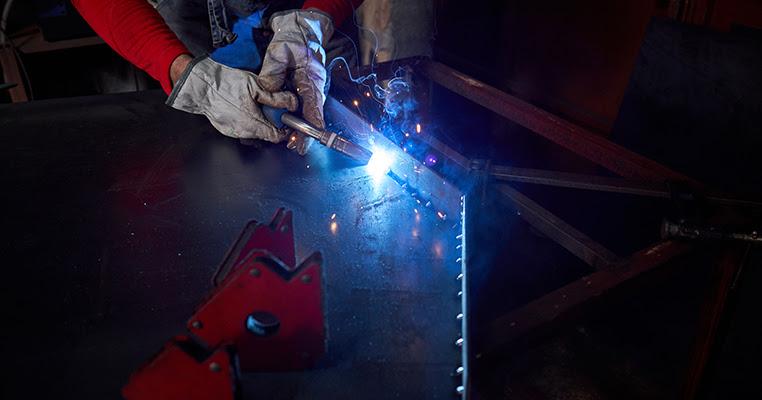
Tack welding is similar to stitch welding but even more divided up. Instead of doing small sections of seam at a time, you instead do simple dots, barely tapping the torch to the material. A few tacks along the length of a piece will secure it in place; then, you can start placing tacks every few millimeters along the seam. The gaps between each tack allow for previous tacks to cool and reduce the risk of burn-through or heat warping.

Once you’ve tacked your way down the workpiece, the starting area will be cooler, and you can go back and add more tacks in the places you skipped previously. Usually, two or three repetitions will leave you with one solid seam, with overlapping tacks along the way that form into one uniform weld.
You can also combine the two techniques. Use tack welding to secure the materials together, and then use the stitch welding technique to produce a more thorough seam. As long as you’re careful, you won’t end up damaging your workpieces.
Use a Backing Bar
A backing bar is essentially a heat sink. When you have your workpieces set up and ready to weld, position a backing bar across the seam but on the other side of where you’ll be welding. The backing bar is generally a piece of material made of either copper or aluminum because those metals have high levels of thermal conductivity. This backing bar makes contact with the seam on the far side of the weld.

When you proceed with your weld, the heat of the actual welding operation melts the workpieces. Excess heat, however, will be absorbed by and sink into (and then dissipate from) the backing bar rather than moving further into the workpiece and leaving burn-through or warping behind. This essentially mimics or “fakes” having a thicker piece of material to eliminate the problem of working with thinner materials.
A backing bar isn’t a perfect solution on its own, of course. If you linger too long and burn through, you can still cause issues and accidentally fuse the backing bar, which can also lead to inclusions. There are also occasions where you don’t have easy access to the back side of a weld on thin materials and won’t be able to place a backing bar. But, in cases where it works, it can be very effective.
Use a Foot Pedal if You Don’t Already
Foot pedals are occasionally contentious in the welding industry. Some welders hate them and find it difficult to coordinate the hand motions with foot pressure. Others love them and the flexibility and control they offer.

Thin sheet metal is one area where a foot pedal can be an exceptional tool. Since you need to be very steady with your hand movements, putting your amperage and other controls in those same hands means you can end up distracted, wavering, or otherwise move the torch in ways you don’t want to – or fail to move as you should while you fiddle with controls. Using a foot pedal instead will offload that burden to your feet, which can move without affecting the motion or position of your hands.
It can take some getting used to, but using a pedal can be an incredible benefit for a variety of welding purposes.
Pay Attention to Positioning
Burn-through is one of the worst problems when you’re welding thin materials. It happens primarily because the heat of your weld lingers long enough that the material you melt doesn’t fuse but rather is liquid enough and heavy enough that it drips out of position and leaves a hole behind.

While lingering heat is the primary cause of burn-through on thin materials, you may also be able to minimize the problem slightly if you weld in a different position. If gravity has a slightly harder time pulling a drip of molten metal out of position, things like surface tension and cooling can help keep it secure. While, obviously, a fast and smooth weld is an idea, sometimes you don’t have that option; in those cases, simple positioning may be able to help, at least a little.
The primary choice here is to weld moving downhill rather than uphill. Welding uphill means that any motion of the molten metal is affected by gravity and moves downhill towards already hot and previously melted metal, keeping heat in place and risking burn-through. Conversely, if you weld downhill, the heat follows the torch and applies to metal you haven’t melted yet. This can even speed up your welding slightly. As long as you don’t linger and double up that heat, it helps minimize burn-through.
Use Argon Shielding Gas
CO2 is usually the shielding gas of choice because it’s cheaper and more plentiful than other shielding gasses, and you aren’t usually concerned about the effects of the shielding gas as long as it’s not reacting chemically to the metals you’re melting and is protecting them from the atmosphere.

That said, CO2 also keeps heat more present in the area than other shielding gasses. In particular, Argon is the best shielding gas for heat control. It more readily dissipates heat into the surrounding atmosphere and doesn’t keep as much heat around your work area. Heat management is, again, critical to welding thin materials, so this is a good and easy switch to make.
Learn How to Fix Mistakes
If you do end up burning through a piece of material, all hope is not lost, at least not immediately. A burn-through can be fixed by using filler material to patch the hole, usually in a tack weld. Any gaps in your weld can be filled in this manner, and then excess metal can be ground away.

Make sure not to try to stop and repair a burn-through without completing the rest of the weld, if you can. This is because when you grind away the excess, you also risk grinding base material, and that just makes the seam even thinner and more prone to further mistakes. Complete your weld, then go back and make any patches that are necessary.
Consider Alternatives
Modern technology continues to advance, and one of those advancements is the development of more optimal tools for use in otherwise suboptimal situations.
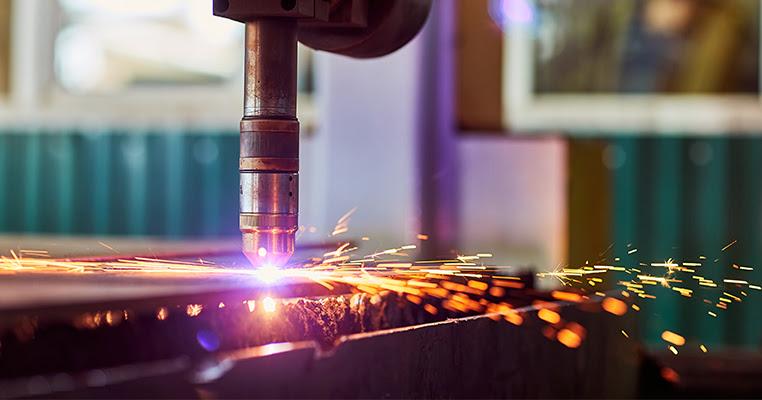
Welding thin materials can be a challenge, but there are two modern options that can help make it both less of a challenge and much more consistent. The first is to use laser welding. Laser welding is extremely precise and can fuse thin materials together with much less heat applied to the surrounding area.

The second – and this is part of laser welding, too – is to use CNC systems for your thin welds. While it can be tedious, time-consuming, and seemingly unnecessary to program a CNC path for a single weld, it ensures appropriate speed of transit, accuracy, consistency, and performance for the whole of the weld. That said, it’s still best used when you’re performing the same operation numerous times and don’t need to stop and create unique CNC paths every time.
Practice Makes Perfect
At the end of the day, everyone is going to make mistakes in welding, and those mistakes are more prone to being visible on thinner materials. The best thing you can do is practice. Thin scrap materials are common and easy to use as practice materials, and the more you practice, the better a feel you’ll get for the intricacies of welding thin materials.

If you need assistance or want to try out more modern technology, whether it’s welding automation or just a modern system with pulsed MIG or pulsed TIG settings, we’re here to help. Browse our list of welding equipment rentals, and you’re sure to find something that suits your needs. Or, if you aren’t sure what would be best for you, feel free to reach out; our experts are ready to help you pick the right machine for your needs.
While practice makes perfect, using the right tools for the right job is just as important and makes that practice much more effective. So what’s stopping you? Get started with rental welding equipment today.


