


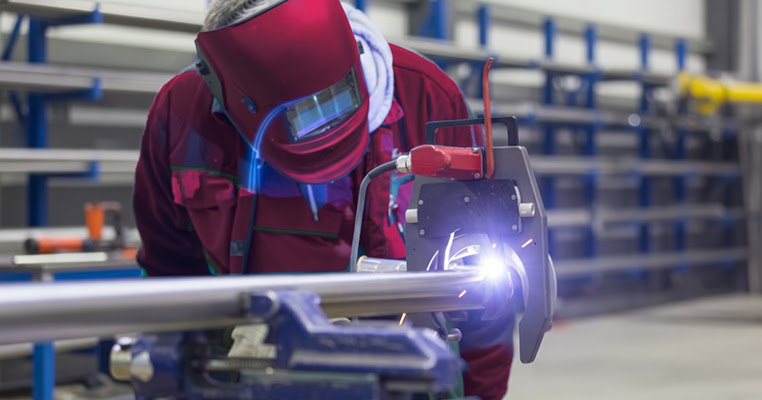
An orbital welder just showed up at your shop as a rental, and right about now, you’re probably staring at it with a combination of excitement and mild panic. The rental company dropped it off with a quick demo and handed you a manual that’s thicker than a phonebook, and gave you the basics on how to turn it on and off. In 4 – 6 hours from now, though, you need to be making welds that are strong enough to pass inspection, and that’s a completely different story.
Rental units usually have somebody else’s settings still saved in the memory. The weld head has probably seen better days, with visible wear marks from who knows how many previous jobs, and the gas connections are set up for whatever the last person was working on, which probably isn’t what you need. These machines run anywhere from $35,000 to $55,000 brand new, and even though yours is a rental, it needs to work like a new one would. The combination of not wanting to break something that expensive and also having to meet your production deadlines can make your blood pressure spike.
What you need is a guide to get the rental machine up and running as equipment that actually works in your shop. Every step in the setup process matters because each one changes the next one, and they all work together to give you the right arc behavior and the penetration depth you need.
The goal is to make everything work with your exact materials and to meet your quality standards.
Let’s go over the setup process so you can start welding with confidence!
How to Check Your Rental Equipment
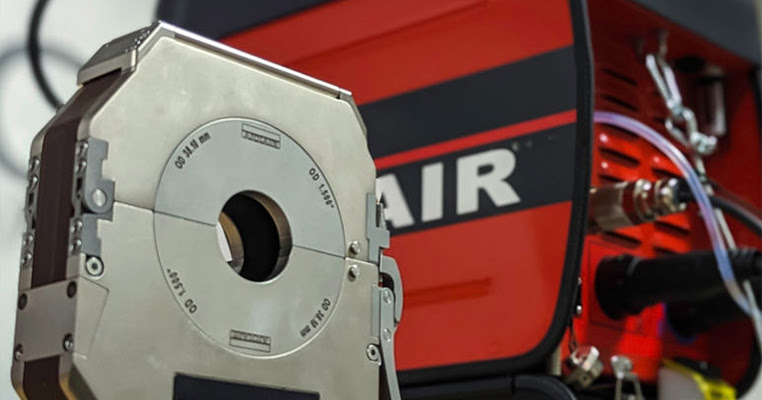
The second the rental case arrives at your shop, make sure to spend a few extra minutes going through everything inside. Get your phone out and snap some pictures of any scratches, dings, or marks you see on the equipment. I’ve seen too many technicians leave out this step and then get stuck with damage charges for problems that were already there when they picked up the gear. Rental shops know that their equipment gets beaten up a bit during normal use, and they’re usually pretty fair about it. The main thing is having proof of what condition everything was in when you first touched it.
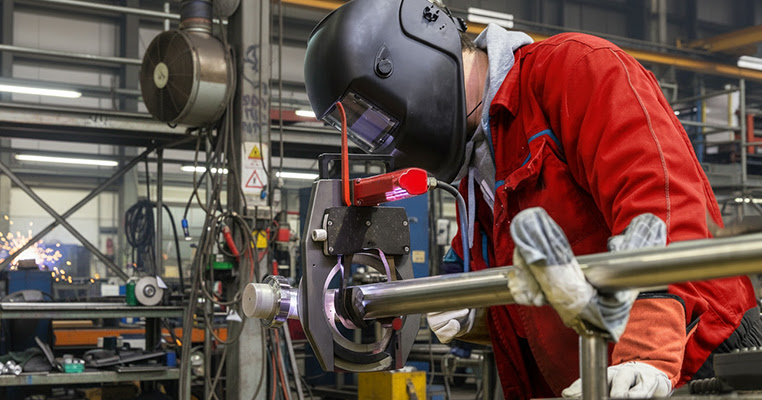
The weld head should be your first inspection point, and you’ll specifically want to find the concentricity gauge that comes with it. The pharmaceutical industry actually had a massive wake-up call about this exact issue about six years ago, back in 2019. A few plants ended up with contaminated product lines, and when the investigators traced the problem back to its source, they found orbital welds that looked completely acceptable from the outside. The problem was that there were microscopic gaps on the interior surfaces where bacteria had been able to multiply inside the tubing systems.
After the weld head, move on to the torch alignment tools. If there’s any sticking or rough movement, somebody who had the equipment last probably wasn’t careful with it and probably dropped it at some point. Call the rental company right away if something feels off because you definitely don’t want to find a problem halfway through your project.
A machine that shows some wear and tear isn’t necessarily a bad sign. Scuff marks on the housing and labels that are a bit faded actually tell you something positive – that other technicians have successfully completed their projects with this exact unit. Fresh out of the box equipment can have all sorts of manufacturing defects or calibration problems that nobody’s found yet. A rental unit that has some history has already proven that it can do the job.
As you’re unpacking everything, look carefully at the condition of all the cables. Run them through your hands from end to end as you feel for any soft areas, cuts in the insulation, or areas where the cable feels damaged underneath the outer jacket. Also, test each connector to verify that it seats correctly and locks into place without any play or looseness.
The Right Electrical Setup for Your Welder
Most orbital welders need pretty serious electrical infrastructure to run, and the rental units are no exception. The standard models usually need either 220V single-phase or 480V 3-phase power to work. Fortunately, many of the newer machines have auto-sensing capabilities built right in and can detect your shop’s power configuration and adjust their settings accordingly without any manual intervention.
The biggest mistake that rental customers make is when they believe that any available outlet will do the job. These machines are power-hungry beasts that usually draw between 30 and 50 amps during operation. Unless you have a dedicated circuit set aside specifically for welding equipment, you’re going to spend half your day resetting tripped breakers, and you’ll struggle to understand why nothing works right.
Your ground connection actually matters even more than the power supply itself. A solid ground makes sure that your arc stays stable and your welds come out uniform every time. Poor grounding causes erratic arcs that can completely destroy your workpiece. Some places have even stricter laws to follow. Semiconductor plants and locations with sensitive electronic equipment usually need isolated ground systems to stop the welder from creating electromagnetic interference that could damage nearby machinery.
The physical placement of your power supply unit deserves careful consideration, too. Experience has taught me that even the perfect welds can be ruined when somebody accidentally kicks a power cord loose or rolls a cart over the cable mid-operation. The best strategy is to position the unit against a wall or tuck it into a corner away from foot traffic. You need to have it close enough to comfortably reach your workstation, but far enough out of the way that nobody will accidentally bump into it during the job.
As for electrical capacity and infrastructure, patience pays off here. It’s always worth waiting an extra day or 2 to get the right electrical setup instead of putting expensive rental equipment at risk or creating an overload in your building’s electrical system!
How to Set Up Your Gas System
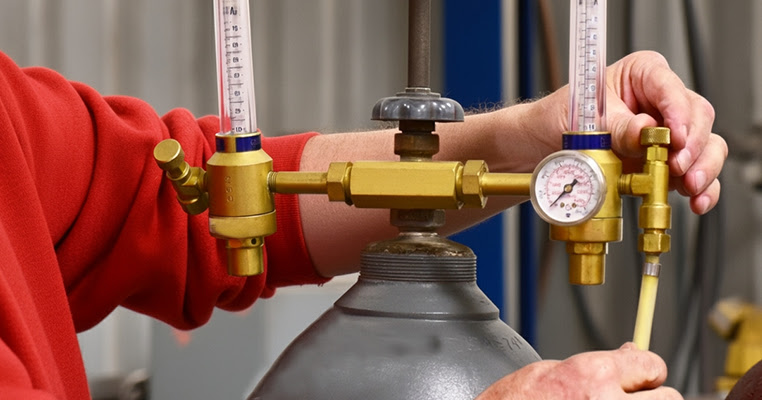
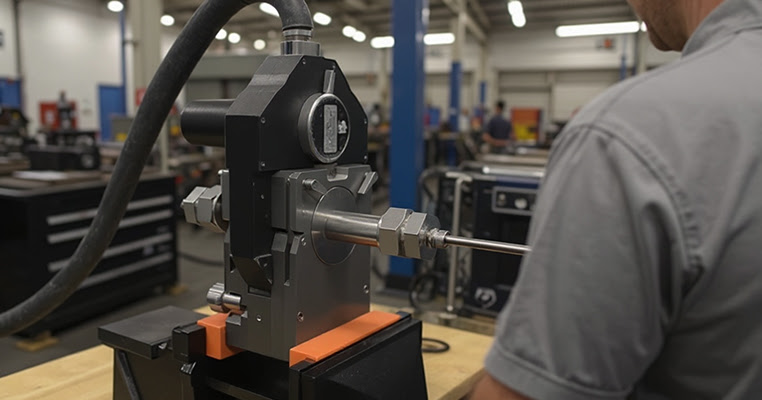
Once you have your power supply ready, you’ll need to set up your gas system next. A lot of welders don’t think about this part. But the gas setup will control whether your welds turn out great or terrible. The rental units usually have dual-stage regulators that connect directly to your gas cylinders. Every connection point has to be leak-tested before anything else. I always check mine twice because even a small leak can ruin your whole day when you’re ready to weld.
The best way to check for leaks is pretty simple. Get yourself an approved leak detection liquid and brush it onto all your fittings and connection points. What you’re looking for is bubbles. If any bubbles appear anywhere, that connection needs to be tightened and then tested again. Just keep doing this until you have zero bubbles at every connection point.
Gas purity is another factor that has a massive effect on the quality of your welds. For the majority of stainless steel applications, argon with 99.9% purity is going to work just fine. But if you’re working on semiconductor equipment or medical devices, then you’ll need to move to helium with 99.999% purity. It does cost more. But when contamination could destroy an entire component or assembly, that extra expense is justified.
Most rental shops probably won’t mention this next part. Even when the gas purity is perfect, oxidation can still happen if the flow rate is set too high, creating turbulence inside the tube. An aerospace contractor who was working on the F-35 program found this problem after he completed millions of dollars’ worth of welds that all had to be redone. The gas was completely pure. But the flow pattern inside the tubes was creating turbulence that caused oxidation anyway.
Always calculate your pre-purge time based on the exact diameter and length of the tube you’re about to weld. Most rental units have a calculator feature built right into the control panel, which makes this pretty easy. Use it for each weld because if you try to guess at purge times, those shortcuts will eventually cause big problems down the line.
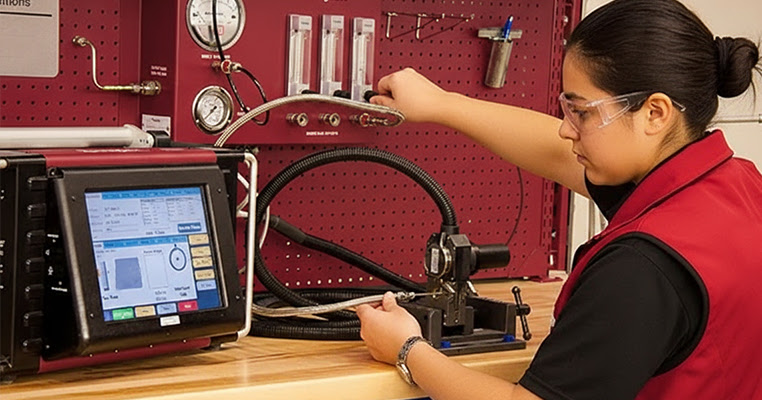
Test Welds Before Your Real Work
The last person who rented that orbital welder before you probably had it dialed in just right for their own project. But their settings won’t work for what you need to accomplish, and the material you’re working with is likely very different from theirs. That means calibration and test welds are something you really need to handle before you can even think about touching your real workpiece.
Arc gap is the first aspect that needs attention. The best range for most orbital welding machines falls somewhere between 0.030 and 0.045 inches. This measurement represents the distance between your electrode and the workpiece, and it controls everything about how your arc is going to behave. When that gap gets too tight, the arc starts jumping around unpredictably. Leave too much space, though, and you’ll never achieve the penetration depth you need.
Test coupons are your next priority, and these need to match your project material. Your test pieces better be 316L as well when you’re going to weld 316L stainless steel tubes. The material consistency matters more – two different batches of what should be identical 316L can have slightly different sulfur content, and even that small variation will make the arc behave differently. NASA has this standard that I’ve always found pretty smart – they need 3 perfect test welds in a row before anyone can work on the real flight hardware. Your project might never leave the ground, but it’s still a great standard to follow. Those practice welds become your main quality control step before you move on to the real project.
Look at that test bead very closely when it comes out. Sugar-like crystals mean that oxygen contamination got into your weld pool, so you should double-check all your gas connections and flow rates. Heavy discoloration usually means excessive heat input. You want to see a light straw color on your finished weld.
Your first test weld is probably going to fail. The second and third ones might not work out either, and that’s actually fine! Every bad weld tells you just what you need to change. Maybe you need to dial down the amperage a little bit or move faster along the joint. Each time you try, you get a little closer to the right settings for whatever you’re trying to weld.
Custom Weld Programs That Work
Most rental orbital welders come equipped with generic programs, and these pre-loaded settings will almost never match up with what you actually need for your job. You’re going to have to adjust them no matter what, and those adjustments will depend heavily on your pipe thickness and the exact type of material you’re working with. Once you get familiar with the basic program structure, though, these modifications become much more manageable, and you’ll be able to dial in the right settings pretty fast.
The programming itself operates on 4 separate levels, and each level controls a different part of the whole weld cycle. Your first level is where you set up all your starting parameters and get everything ready to go. Then you move into the upslope phase, where the machine slowly increases its power output to reach full capacity. The main weld level takes over from there and takes care of the bulk of your joint bonding. The final stage is the downslope, and it slowly brings down the power output to finish off your weld properly without any defects.
The final downslope stage needs more time and care than most welders give it, especially in pharmaceutical work, where the quality standards are brutal. You want to extend that downslope phase way longer than feels natural because cutting it short will get you crater cracks right where the weld ends. It’ll fail every pressure test you run, and fixing them after the fact is a nightmare that nobody wants to handle.
The industry has come a long way from the old days when welders had to always reference paper schedules for every job they worked on. Modern machines now allow you to save your custom programs directly to a USB drive and make life infinitely easier. This technological change took off because of pioneering work by organizations like Swagelok back in the 1990s. They put in the effort to develop standardized schedules that different shops could share with one another and then adapt them to their own needs.
There’s a point that gets missed way too much when operators develop their weld programs. Always document the ambient temperature at the exact time you’re putting together your weld schedule. Temperature variations in your work environment will affect how your welds turn out. Not accounting for these changes will leave you with welds that don’t penetrate properly and fail inspection.
Never copy weld programs between different heat numbers – not even when you’re completely sure that the material grade is identical. Every heat number has its own specific characteristics, and what works great for one batch might produce terrible results on another.
Where The Pros Get Their Welding Rentals
The right setup for your orbital welder makes the difference between smooth production runs and constant annoying delays that eat into your schedule. After walking through these exact setup steps with dozens of different machines over the years, I’ve seen that operators who take their time during the first configuration usually avoid the problems that come from rushing. The ones who rush through setup because they want to start welding straight away usually wind up spending 2x as long to fix problems that never should have existed in the first place.
Once you’ve gone through a full setup from start to finish, the whole process gets much more intuitive and straightforward. Your second time around will probably take 50% as long because you’ll already know how each component works together and how it changes the final weld quality. Writing down your settings and keeping some photos of successful configurations definitely helps the next time you rent similar equipment again or when you choose to buy your own machine down the line. Even experienced welders who’ve been doing this for decades still keep their setup documentation close by because each job has its own requirements, and that reference material does speed up the entire process considerably.
The technical support line from your rental company turns into a true asset once you have the fundamentals figured out. These technicians have seen just about every possible setup scenario you can imagine, and they know how to fine-tune your parameters to achieve even better results than the standard settings would normally give. They’re not there to show you basic assembly or explain which button does what. When you’re pushing the machine’s capabilities or working with unusual materials, though, their expertise gets extremely valuable and can save you from expensive mistakes.
At Red-D-Arc, we carry a wide selection of orbital welders along with all the accessories and support equipment you could ever need – gas management systems, protective gear, and you name it. Our team has been doing this for years, and we know that great welds always come from the right equipment for your project’s needs and constraints. Check us out at red-d-arc.com to browse through our full catalog with all the specs and rental options. We have flexible terms that work with your timeline and budget, and with the equipment quality to give you those perfect repeatable welds your projects deserve.


Leave a Reply